How to: Create Photo Album and Add Photos
This guide will show you how to create an album and add photo’s to it. This is great to create engagement throughout your organization!

Chloe Hill-Huse
Last Update hace 5 años
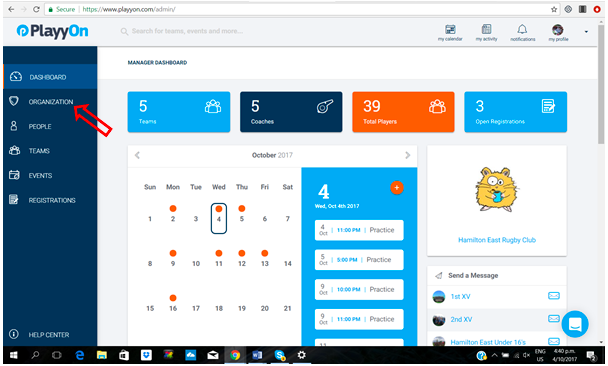
STEP 1: From your dashboard, click on the ‘Organization’ tab on the left tool bar (red arrow). This will take you to your organization’s management toolbox.
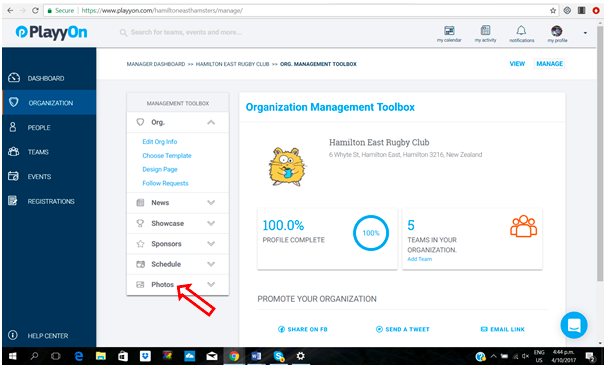
Step 2: Click on ‘Photos’ (red arrow) on the left management toolbox tab.
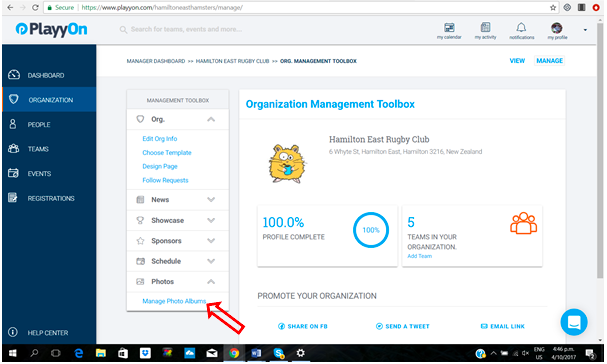
This will drop down an option you can select. Click on the blue ‘Manage Photo Albums’ button (red arrow).
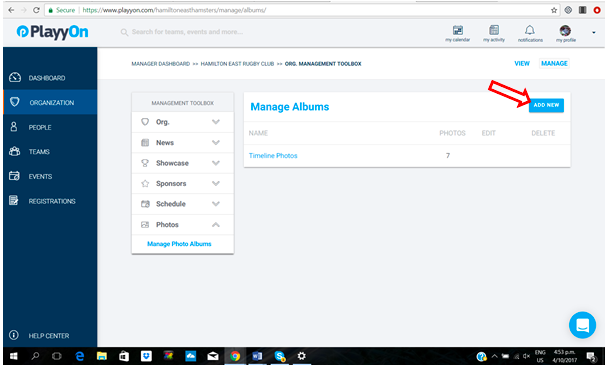
STEP 3: From here you can now manage all your photo albums. To create a new album, click the blue ‘Add New’ button on the top right hand side (red arrow).
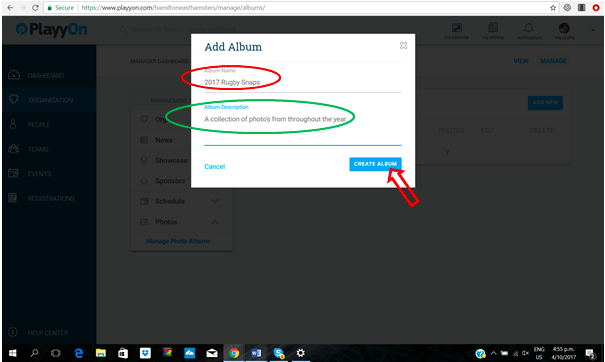
A pop up will appear where you can create your photo album name (red circle) and add an album description (green circle). Once you are happy with what you have entered, click the blue ‘Create Album’ button (red arrow).
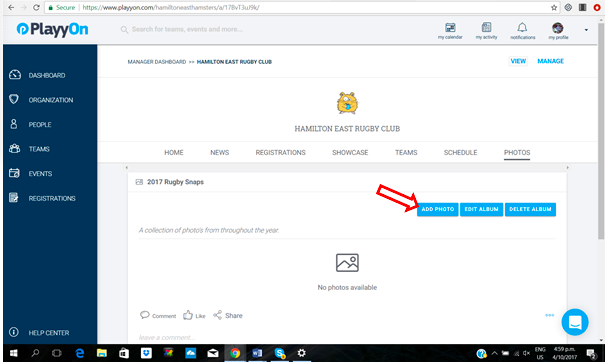
STEP 4: Once you have created the album you are now able to add photo’s you wish to it. Click on the blue ‘Add Photo’ button (red arrow).
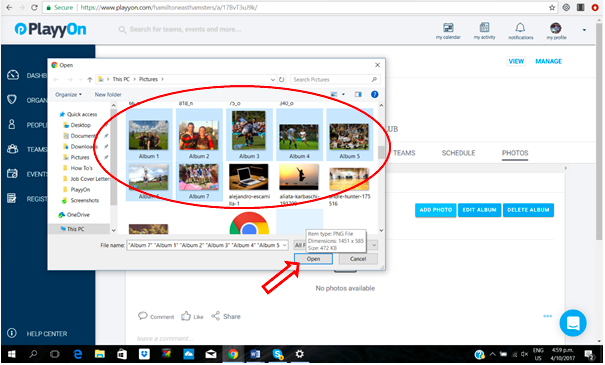
A window will open up where you can select your photo choices from those saved in your computer. Select one or more (red circle) and click open (red arrow).
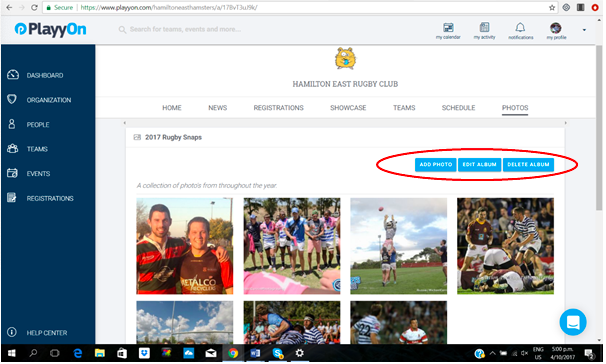
STEP 5: Your photo’s will upload to your new album and can be seen as soon as they are processed. If you need to add more photos, edit the album, or delete the album; click one of the three blue buttons (inside red circle).
Well done! You have now successfully uploaded a photo album. If you have any specific questions or queries, please do not hesitate to contact the PlayyOn Team by clicking on the chat bubble on the bottom left of your screen. We will be more than happy to help you out. Good luck!